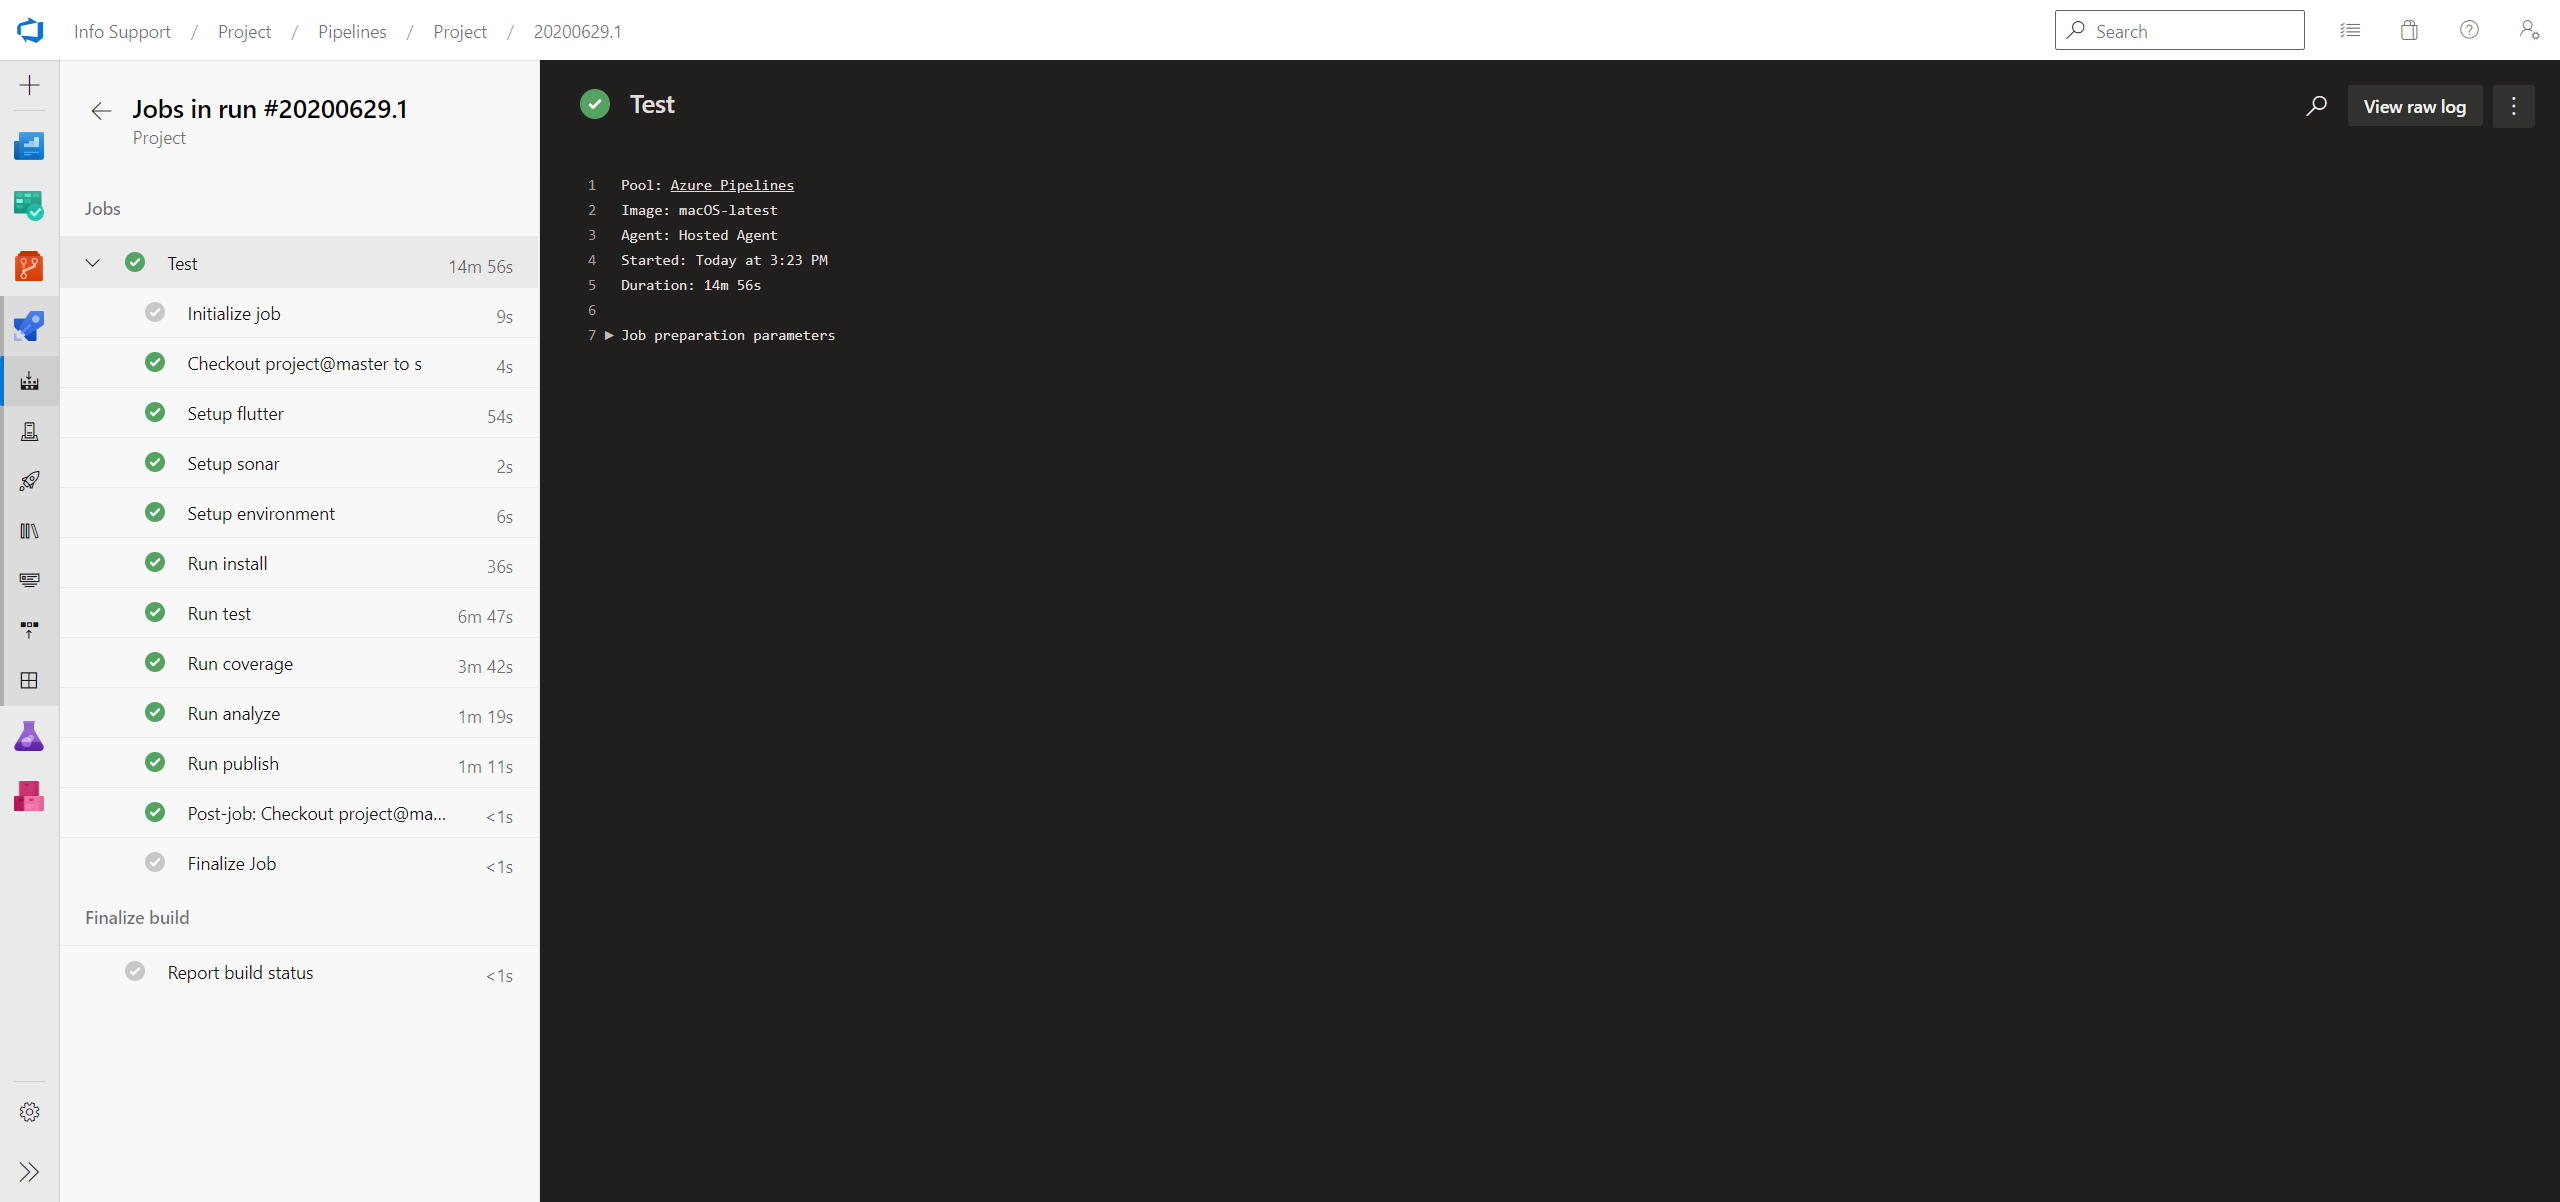
Quality assurance is one of the most important things when it comes to building applications. Tools like SonarQube can help developers write cleaner and more maintainable code. It is best to include the quality assurance step in a CI/CD pipeline, to make sure the quality is high before deploying any code. In this blog post I will show you how to use SonarQube in conjunction with Flutter and Azure Pipelines.
SonarQube
For anyone who did not know already, SonarQube is an open-source platform developed by SonarSource for continuous inspection of code quality to perform automatic reviews with static analysis of code to detect bugs, code smells, and security vulnerabilities. SonarQube offers reports on duplicated code, coding standards, unit tests, code coverage, code complexity, comments, bugs, and security vulnerabilities.
Pipeline
You must first install the Azure Pipelines Flutter, Azure Pipelines SonarQube and the Sonar Flutter extensions before you can start building your pipeline. It is also a good idea to setup a service connection for SonarQube in Azure Pipelines, you can read more about that here.
Step 1: Define triggers
The following code snippet makes sure that the pipeline only triggers on pushes to the master branch.
trigger:
  branches:
    include:
      - master
pr: none
Step 2: Define variables
It’s a best practice use a variables section to make it easy for other developers to update the pipeline in the future. I defined two variables one for the Flutter channel and one for the Flutter version.
variables:
  FlutterChannel: 'stable'
  FlutterVersion: 'latest'
Step 3: Setup environment
You must first install Flutter, setup SonarQube and setup some environment variables before you can test and analyze the app. It’s recommended to use the macOS-latest image for the pipeline.
The macOS-latest image already has Java 7, 8, 11, 12, 13 and 14 installed. You can select the version you want by appending JAVA_HOME_<VERSION>_X64 to the $PATH variable and setting the $JAVA_HOME variable to JAVA_HOME_<VERSION>_X64. You also need to append the FlutterToolPath variable (exposed by the extension) to the $PATH variable to allow the other steps in the pipeline to use the flutter command line tools.
Note: The Sonar Flutter plugin only supports Java 11 or later.
jobs:
  - job: Test
    pool:
      vmImage: 'macOS-latest'
    steps:
      - task: FlutterInstall@0
        displayName: Setup flutter
        inputs:
          channel: '$(FlutterChannel)'
          version: '$(FlutterVersion)'

      - task: SonarQubePrepare@4
        displayName: Setup sonar
        inputs:
          SonarQube: 'SonarQube Service Connection'
          scannerMode: 'CLI'
          configMode: 'file'

      - task: PowerShell@2
        displayName: Setup environment
        inputs:
          targetType: 'inline'
          script: |
            Write-Host "##vso[task.prependpath]$(JAVA_HOME_11_X64)"
            Write-Host "##vso[task.setvariable variable=JAVA_HOME;]$(JAVA_HOME_11_X64)"
            Write-Host "##vso[task.prependpath]$(FlutterToolPath)"
            Write-Host "##vso[task.prependpath]$(FlutterToolPath)/cache/dart-sdk/bin"
Make sure your sonar-project.properties contains the following values.
sonar.projectKey=<SONAR_PROJECT_KEY>
sonar.projectName=<SONAR_PROJECT_NAME>
sonar.projectVersion=1.0

sonar.sources=lib
sonar.tests=test

sonar.sourceEncoding=UTF-8
Step 4: Test & analyze
All the dependencies must be installed by using flutter pub get before you can test and analyze the app. The Sonar Flutter plugin needs two files to correctly display the coverage. The first file is a file containing the tests. The second file is an lcov report containing the coverage. You can generate these files by running flutter test --machine > tests.output and flutter test --coverage.
      - task: CmdLine@2
        displayName: Run install
        inputs:
          script: 'flutter pub get'

      - task: CmdLine@2
        displayName: Run test
        inputs:
          script: 'flutter test --machine > tests.output'

      - task: CmdLine@2
        displayName: Run coverage
        inputs:
          script: 'flutter test --coverage'

      - task: SonarQubeAnalyze@4
        displayName: Run analyze

      - task: SonarQubePublish@4
        displayName: Run publish
        inputs:
          pollingTimeoutSec: '300'
Step 5: Complete pipeline
The complete pipeline should look somewhat like this:
trigger:
  branches:
    include:
      - master
pr: none

variables:
  FlutterChannel: 'stable'
  FlutterVersion: 'latest'

jobs:
  - job: Test
    pool:
      vmImage: 'macOS-latest'
    steps:
      - task: FlutterInstall@0
        displayName: Setup flutter
        inputs:
          channel: '$(FlutterChannel)'
          version: '$(FlutterVersion)'

      - task: SonarQubePrepare@4
        displayName: Setup sonar
        inputs:
          SonarQube: 'SonarQube Service Connection'
          scannerMode: 'CLI'
          configMode: 'file'

      - task: PowerShell@2
        displayName: Setup environment
        inputs:
          targetType: 'inline'
          script: |
            Write-Host "##vso[task.prependpath]$(JAVA_HOME_11_X64)"
            Write-Host "##vso[task.setvariable variable=JAVA_HOME;]$(JAVA_HOME_11_X64)"
            Write-Host "##vso[task.prependpath]$(FlutterToolPath)"
            Write-Host "##vso[task.prependpath]$(FlutterToolPath)/cache/dart-sdk/bin"

      - task: CmdLine@2
        displayName: Run install
        inputs:
          script: 'flutter pub get'

      - task: CmdLine@2
        displayName: Run test
        inputs:
          script: 'flutter test --machine > tests.output'

      - task: CmdLine@2
        displayName: Run coverage
        inputs:
          script: 'flutter test --coverage'

      - task: SonarQubeAnalyze@4
        displayName: Run analyze

      - task: SonarQubePublish@4
        displayName: Run publish
        inputs:
          pollingTimeoutSec: '300'
Conclusion
By using Azure Pipelines and SonarQube you can easily implement a quality assurance process for your Flutter project. I hope this post helps you implement your own pipeline. Feel free to leave a comment below if you have any questions.


 0 comments
 Quality Assistance & Test