
 0 comments
 Azure
Azure 
A quick overview of how to migrate developer portal customizations between API Management instances
The nice thing about the developer portal of API Management is that you get a good-looking website to access your API documentation out of the box. The default portal usually satisfies after you change some of the default stylings with the built-in visual editor.
When you have multiple instances running (e.g. staging and production) it becomes more of a hassle to change the styling by hand. Luckily for us, the API Management Team has created tooling to help us with that. This also makes it possible to version control your customizations.
Requirements
- Azure CLI
- Node.JS
Getting Started
First, we clone the Management developer portal repository. The repository includes everything you need to self-host the portal but also tooling to facilitate the deployment of hosted portals.
git clone https://github.com/Azure/api-management-developer-portal.git
cd api-management-developer-portal
Install the NPM packages
npm install
The relevant scripts are currently found in the scripts.v3 folder
cd .\scripts.v3\
The folder contains different scripts to download and deploy the developer portal.
Make sure you are logged in with az login command before going further.
Download the customizations
First, we want to download our currently deployed developer portal customizations. We use the following command:
node ./capture ^
--subscriptionId <your-subscription-ID> ^
--resourceGroupName <your-resource-group> ^
--serviceName <your-instance-name>
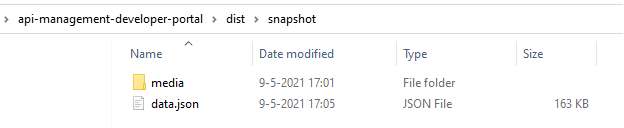
The script creates a ..\dist\snapshot\ folder that contains two things. A json file that with all the portal customizations and a media folder with all the uploaded images.
Deploy the customizations
We need to remove the current customizations on the destination instance. This removes pages, media files and configuration. Deployed API’s will be preserved.
node ./cleanup ^
--subscriptionId <your-subscription-ID> ^
--resourceGroupName <your-resource-group> ^
--serviceName <your-instance-name>
Now we import the customizations from the ..\dist\snapshot\ folder into the destination instance.
node ./generate ^
--subscriptionId <your-subscription-ID> ^
--resourceGroupName <your-resource-group> ^
--serviceName <your-instance-name>
Publish the customizations
When you now go to the built-in editor of the destination portal, you will see the currently imported customizations. These customizations are not visible to end-users because the portal is not yet deployed. You can do this by adding the publish argument to the last command.
node ./generate ^
--subscriptionId <your-subscription-ID> ^
--resourceGroupName <your-resource-group> ^
--serviceName <your-instance-name>
--publish true

Even after the script is finished the publishing process may take a few minutes to complete. After that, you will see that the customizations are visible to end-users.